The quality control process begins when a new project is implemented. It is then determined the technology of production based on technical drawings and individual customer requirements. First, a trial batch is produced and delivered together with the trials measurement report. During mass production - after the customer accepts the trial batch, quality control takes place at every stage of production. From casting, through machining, to shipping. During casting, quality control focuses on detecting casting defects such as: defeciences, swirls, cracks, presence and correctness of installed cores forming holes.


The measuring instruments used for inspection:
![]() 3D Scanner
3D Scanner
![]() Electronic calipers
Electronic calipers
![]() 2 and 3 point bore gauges
2 and 3 point bore gauges
![]() Micrometre
Micrometre
![]() Dial indicator gauge
Dial indicator gauge
![]() Digital dial gauge for measuring the depth and width
Digital dial gauge for measuring the depth and width
![]() Altimeter
Altimeter
![]() Screw gauge
Screw gauge
![]() Depthteller
Depthteller
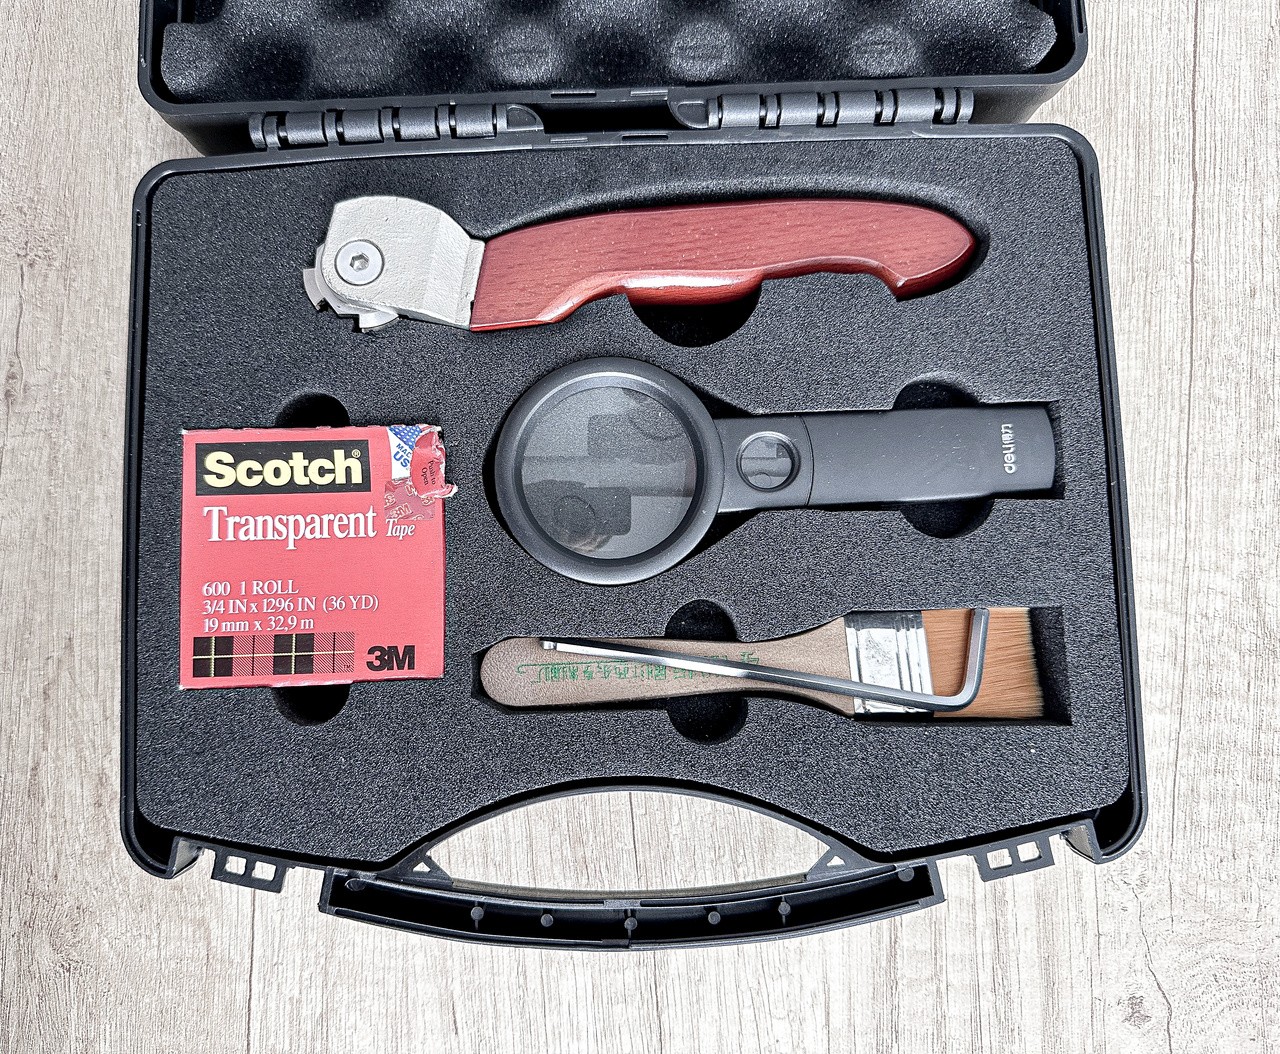
![]() Cross Hatch Cutter
Cross Hatch Cutter
To solve quality problems, we use tools such as: 8D Report, 5Why, Ishikawa Diagram.


3D SCANNING
Enhancing Product Quality through Precision Castings and 3D Scanning Services!
At our manufacturing facility, a passion for precision and excellence drives every stage of production. We understand that the quality of castings is crucial to the success of your products, regardless of the industry. That's why we proudly offer foundry services supported by state-of-the-art 3D scanning, ensuring unmatched accuracy and perfection in every casting.
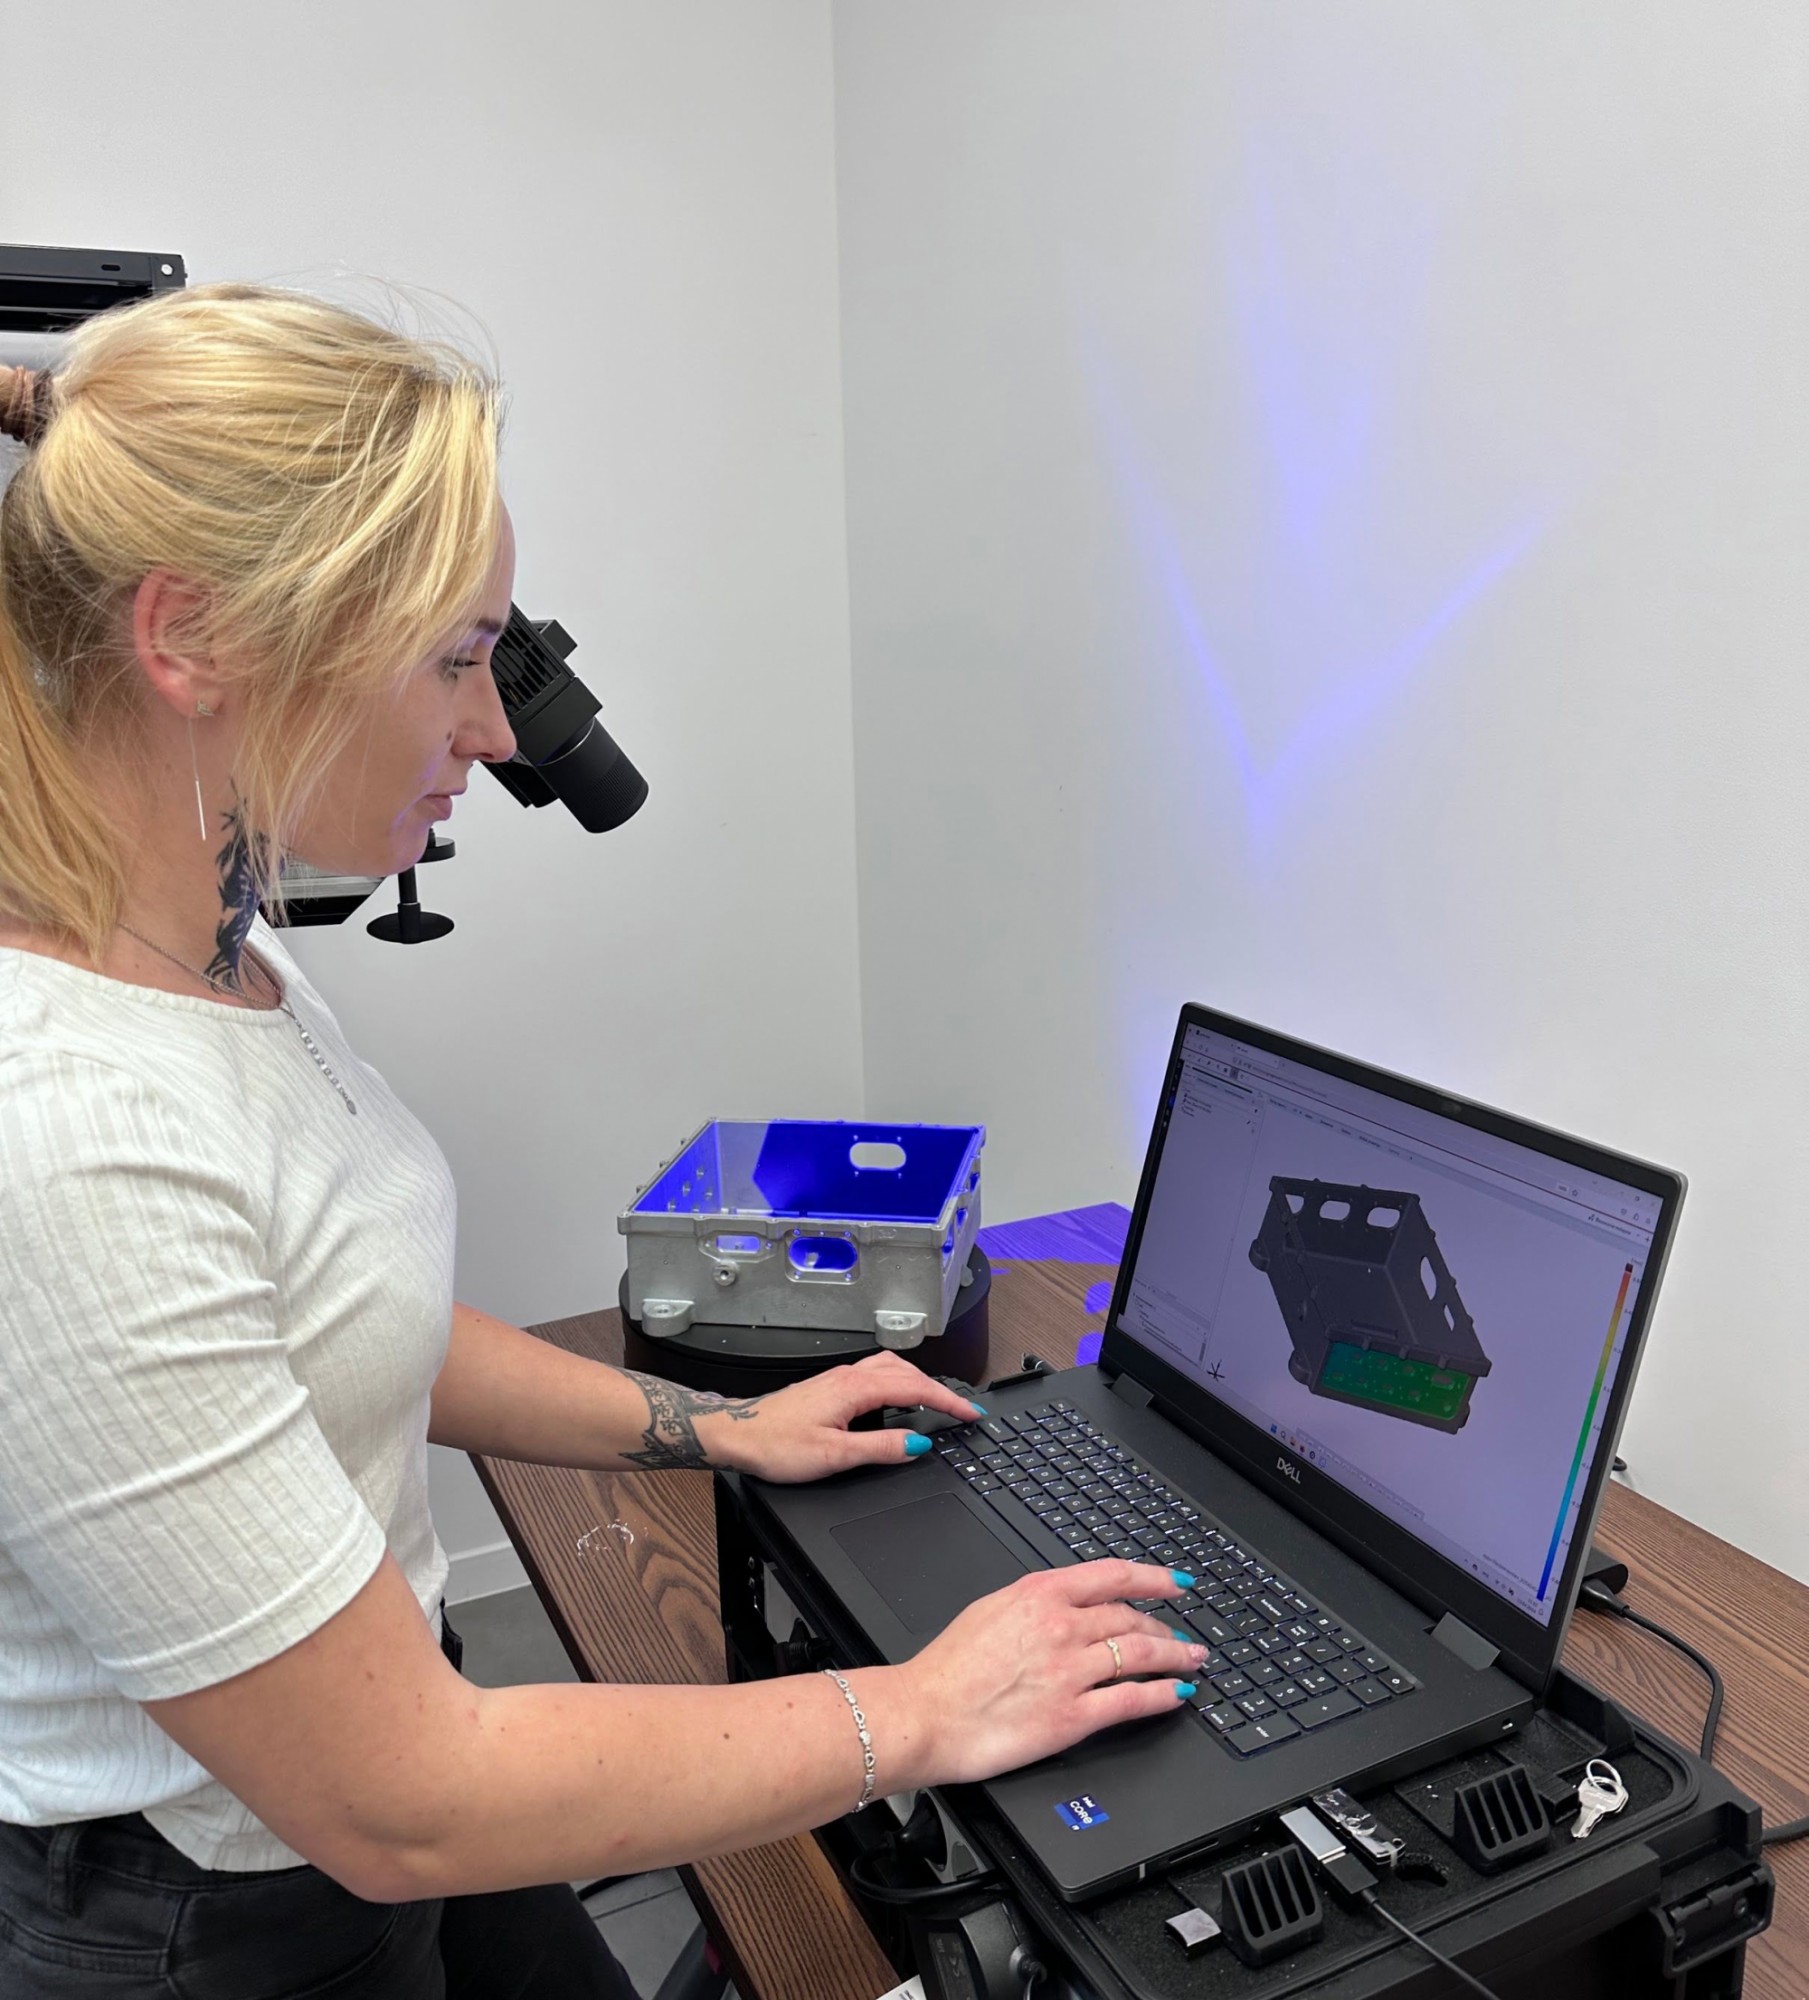
K3D SCANNING SERVICE – HOW DOES IT WORK? The 3D scanning service is nothing but a reflection of the geometry of an actual, existing physical object, followed by its digital recording in an appropriate file format. The entire procedure is conducted non-contact, avoiding the risk of damaging the object. The scanned item is placed on a rotary base, precisely positioned relative to the scanner head, allowing for its "reading" in a 360º rotation, thus accurately reflecting the full geometry.
During the 3D scanning service, the object is illuminated by a structured light beam, while the measuring head of the scanner slowly moves along the entire geometry of the measured object. The device accurately maps all surfaces, and their data is recorded. The image, obtained from several high-resolution cameras, allows for the creation of a point mesh, precisely representing the spatial structure of the object. If necessary, the scanned object is covered with a layer of a substance facilitating the scanning process – for example, a special matte spray chalk. This is because dark or reflective objects (e.g., glass) are much more difficult to scan.
The obtained image from the 3D scanning service is saved in a point cloud format. After appropriate processing, the file can be read by CAD design software. It can also be transformed into a format supported by a 3D printer and used to make a copy of the object.
3D SCANNING – MOST COMMON APPLICATIONS The range of possible applications of three-dimensional imaging techniques is broad, yet 3D scanning services are most often used for two primary purposes. The first is reverse engineering, i.e., creating a model of an object or its part for later analysis, technical documentation, and reproduction. The second popular area of application includes comprehensive quality control — testing produced elements for compliance with the design parameters and for processes of aging, wearing, thus potentially optimizing.
✔️ Contact us today to discuss how we can work together to achieve perfection in your castings!

See more -> 3D scanning
